Every day, it seems like a new TikTok makeup technique is making headlines. The most recent one to circulate on the social networking site is called "underpainting." While this cosmetic application technique isn't new, it's presently trending on TikTok, with everyone from beauty influencers to editors and celebrities participating.
Using foundation comes after applying your blush, highlighter, and contour colors. Think of it as a way to give your face depth before covering it with further layers. With underpainting makeup, you can get a perfect, red-carpet-ready look that will turn heads. The best thing is that it is simple to do and can be done at home with no difficulty.
What is ‘Underpainting?’
While it may not appear clear at first, the name of this trend is quite self-explanatory. Basically, underpainting involves applying concealer, contour, blush, and sometimes highlighting over your foundation. It's a really old method that was invented by painters, namely oil artists!
It gives the skin greater depth and might appear more natural than other treatments. This current fad was created by Mary Phillips, a celebrity cosmetic artist whose customers include Hailey Bieber and Kendall Jenner. She claims that contouring beneath the foundation gives a "softer, more natural, younger look."
How to create this look?
Even though there are several ways to apply this technique, the secret is really in the layers and sequence of application.
Prep your skin
Makeup looks are only as excellent as the skin beneath them, which is especially true of underpainting. The approach focuses on producing a look that is more diffused and natural-looking while yet being sculpted and glowing. Starting with hydration is the key.


Use a moisturizer that serves as a primer as well. This helps to reduce the appearance of wrinkles and fine lines. It makes a surface that is smooth enough for cosmetics to adhere to.
Contour
Contouring is the real groundwork of underpainting and cream or liquid paints work well for this job. Using a thick brush for application is ideal if you're not using a stick product. Contour along the hairline, jawline, outer corners of the eyes, cheekbones, and up to the temples. Consider using a tiny brush on your nose.

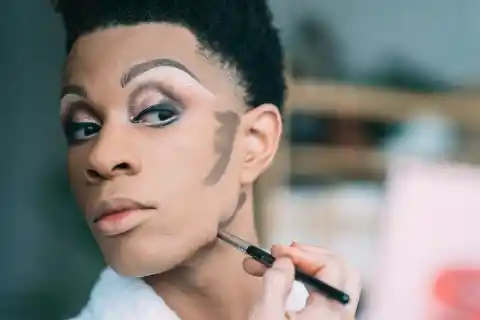
Finding the ideal spot could require some trial and error. Depending on the form of their face and how much definition they desire, each person will want to contour in a different location. After contouring is complete, blend with a stippling brush.
All of the makeup artists agree that cream bronzers give a more natural, skin-like finish, which is why they prefer to use them to contour. Don't worry if you're allergic to the cream. This method can still be used with powders to get a comparable result.
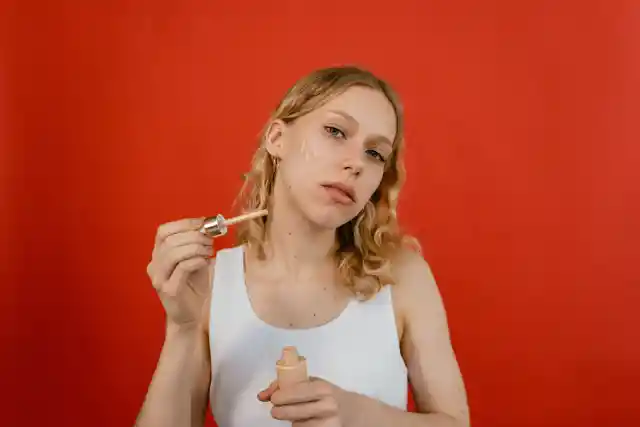
Conceal and Highlight
Apply your cream highlighter and concealer beneath the eyes, on top of cheekbones, in the center of the forehead, and down the center of the nose before applying foundation. Use a concealer that brightens and acts as a highlighter.


Use a moist sponge to blend. This stage is crucial because it helps to create a smooth foundation for the final appearance.
Foundation
After applying your blush, highlighter, and contour, it's time to apply foundation. When putting the foundation, you can do it using a brush, starting in the areas where there isn't contour and applying it quickly in swiping motions.
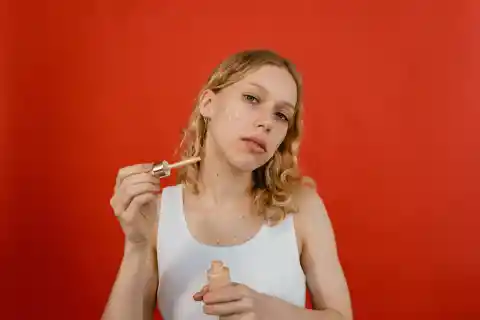
Then, move to a makeup sponge and blend everything out quickly in bouncing motions, buffing it out into the contour you just made. To ensure that the foundation is applied softly so the underlying color may show through, you can also use a makeup sponge for this stage. For the most natural appearance, lighter-coverage foundations are your best option.
Picking the Right Brush
It's important to select the right brush for each stage of the underpainting step! When working on a form or an area, try to match the brush size to that shape or region. The brush's head should be identically sized to the application area.
This might also need you to switch between three or even four different brushes when applying the makeup, but it will help you get the desired result.

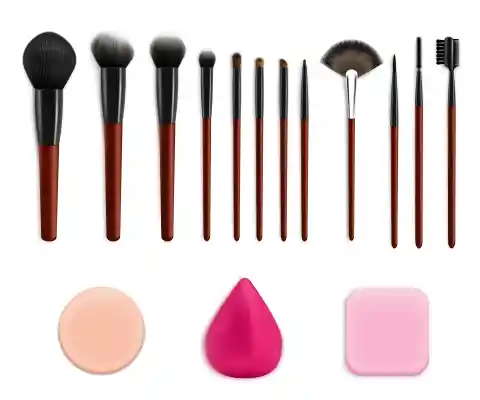
Foundation brush: The brush you'll be using the most when underpainting is your foundation brush, so be sure it's the correct tool for the task.
Angled cheek brush: An angled cheek brush can help you get that sculpted appearance. This brush is ideal for applying blush, bronzer, and highlighter. It's made to blend seamlessly into the curves of your cheek, which makes underpainting.
Loose powder brush: To complete your underpainting effect, use a loose powder brush to apply your loose setting powder. It's ideal for flawlessly blending your makeup to give you the natural look.