30. Rubber Band That Paint Can
Painting a room can be a rather daunting task, let alone painting an entire house. Which is why simple hacks like these really go a long way.
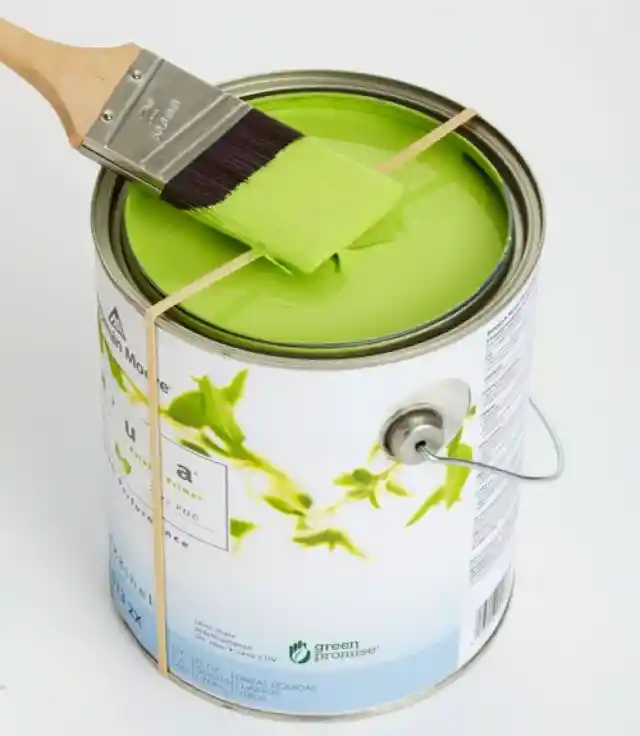

A simple rubber band can help prevent paint from dripping on the floor or creating a mess all over the canister. Not to mention, it helps save paint in the process.
29. Rubber Mallet
Using a regular hammer to reseal paint cans is easy, however, it leaves the top dented and almost impossible to reopen.
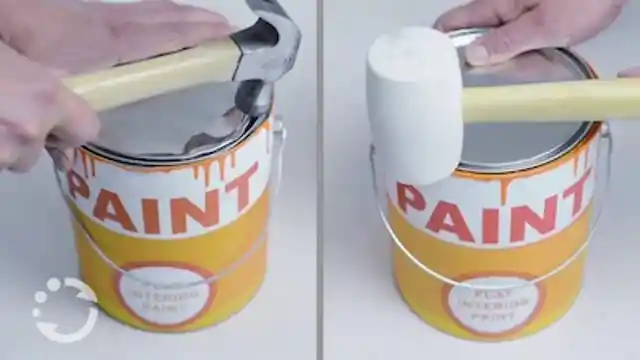
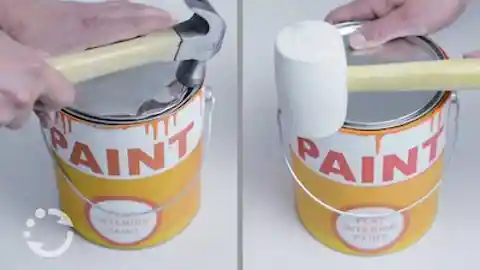
Instead, use a rubber mallet to easily close your paint can without damaging it. Plus, you can use them for many other DIY projects around the house.
28. Cardboard Boxes
Buying accessories for painting can add up quickly and it can be overwhelming to think of all the supplies you need. Sometimes you get home and realize you forgot a few things.
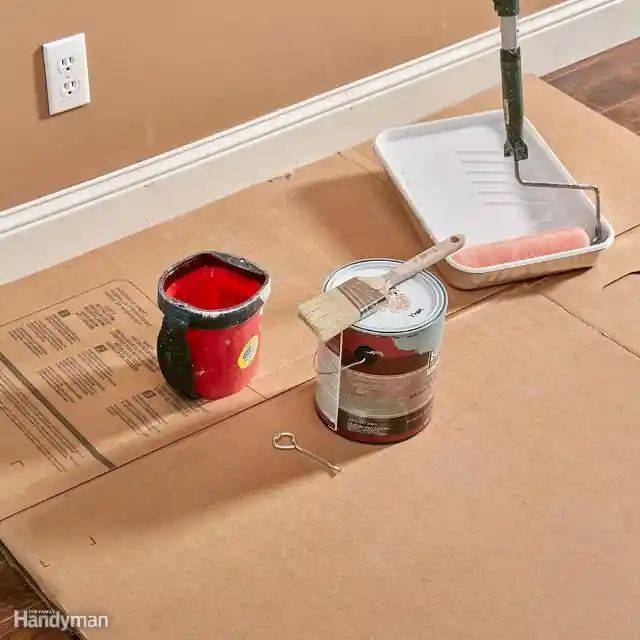
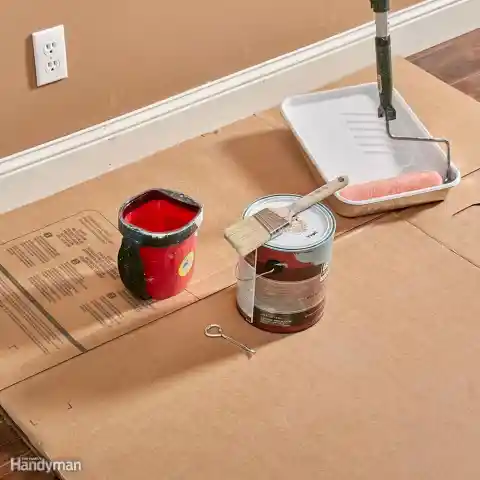
Instead of making another expensive trip back to the store for drop cloths, just use some broken down cardboard boxes instead. Viola, problem solved.
27. Spackle Knife
Next time you want to touch up your moldings, don’t bother taping the wall, just use a spackle knife. It precisely protects your walls from any excess paint and you can move it down the line as you need to.

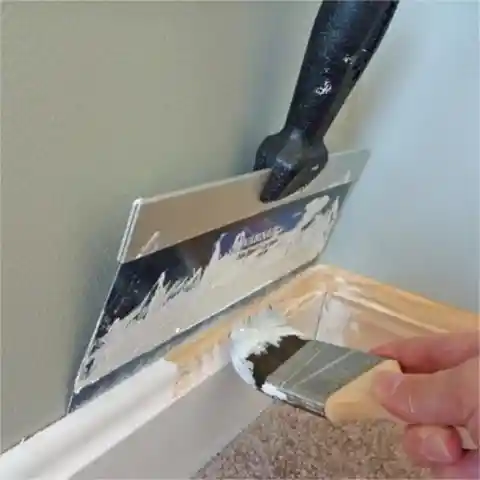
No more wasteful tape. This is another hack that can save you money, as a spackle knife will come in handy again.
26. Avoid Paint Build Up
Avoiding paint build-up in the rim is actually easy, all you have to do is poke a few holes using a nail and that trusty old rubber mallet we were talking about earlier.
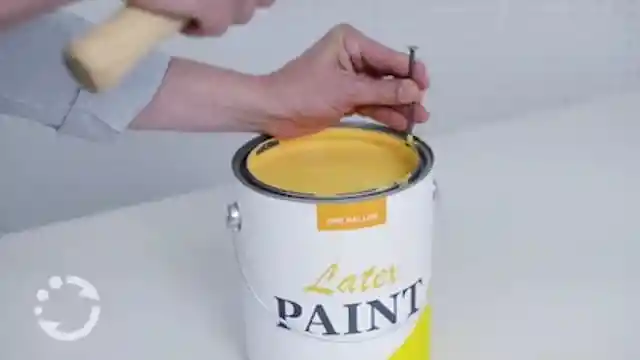

This will allow you to open and close the top easily the next time you want to touch something up.
25. Make-Up Wipes
You may not think make-up wipes would be your best friend in regard to painting projects, but they work great for cleaning up paint spills.
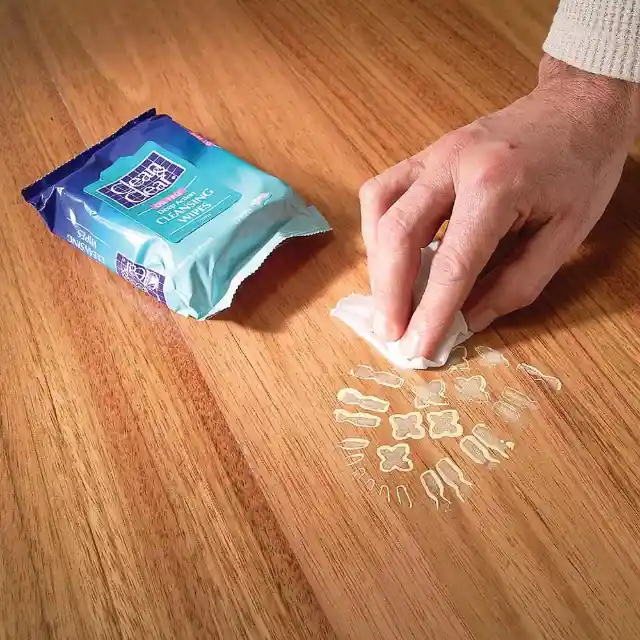

Keeping these on hand can really save you in a sticky situation.
24. Avoid Chemical Smell
A freshly painted room is always a wonderful sight to walk into, but the chemical smell left behind isn’t. To avoid this toxic smell, you can add a few drops of essential oils directly into the paint can.

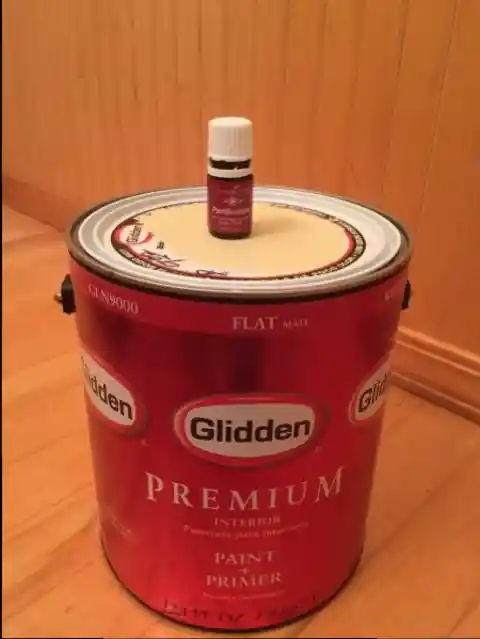
They’re not tinted so it won’t distort the color but they will help eliminate the unwanted smell.
23. Pringles Can
We always love a good hack that allows you to eliminate waste while saving time, and this is definitely one of them. Next time your painting project last more than one day, use a Pringles can to store your wet roller.
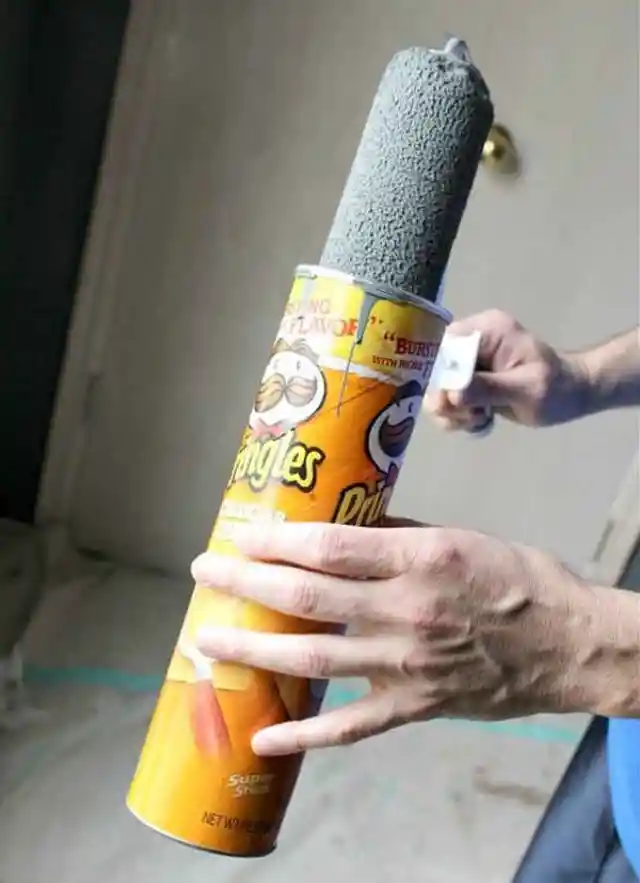
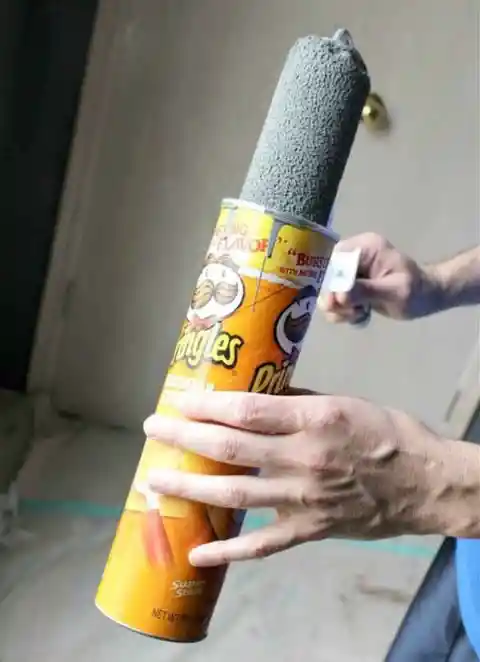
This will save you time because you don’t have to wash it out just to use it again the next day. The key is to store it in the freezer so the paint won’t become crusty so you can easily get back to work tomorrow.
22. Spout It
The next time you go to pour some paint on a tray, try creating your own spout with painters tape to create a mess free project.

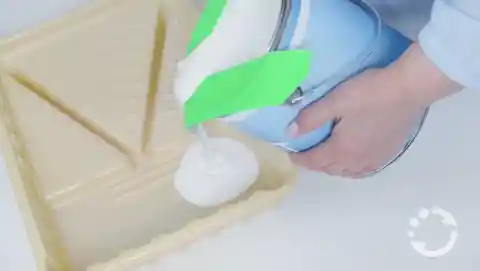
You don’t need to spend money on fancy gadgets when you can make them yourself with supplies you already have.
21. Reuse Your Gloves
Another way to reuse painting supplies is by using your rubber gloves as paintbrush covers.
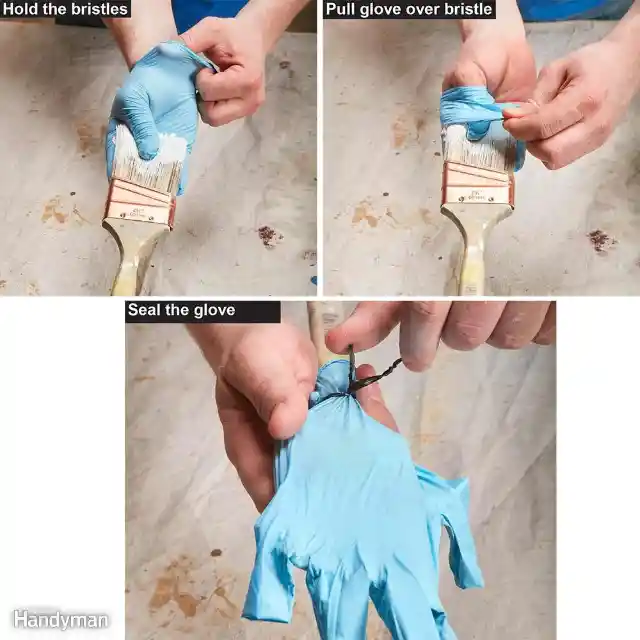

As you can see here, it’s as easy as 1, 2, 3! No mess, no stress, no problems.
20. Elevate Furniture
Although this hack only works for lightweight furniture, it’s great for getting paint in every tiny corner without smudging or making a mess on your workspace.
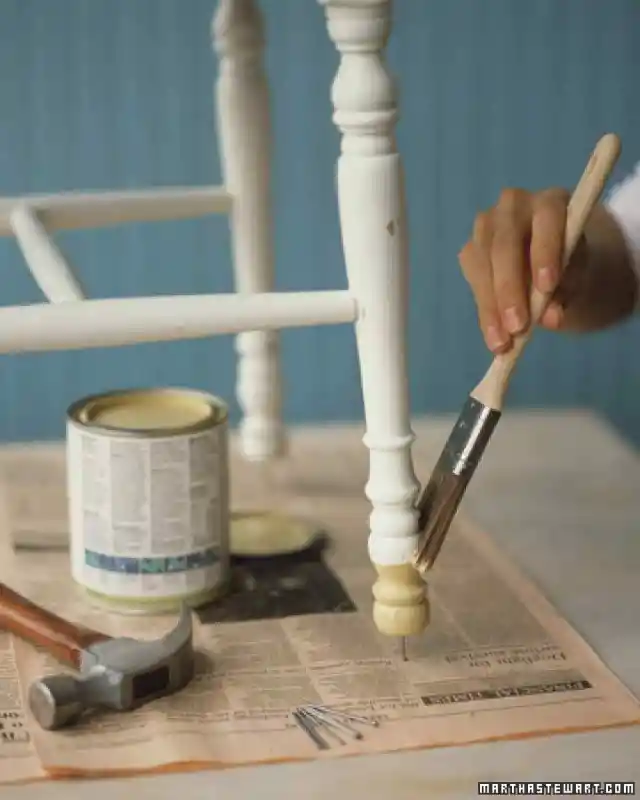

Simply use a small nail to elevate your furniture leg for easy breezy painting.
19. Vinegar
If you ever find yourself rummaging through your painting supplies and notice you forgot to clean off your paintbrushes after using them, no worries.


All you need to do is submerge them in a bowl of vinegar for around 30 minutes and they’ll be good as new.
18. Glad Press n Seal
As you can see, Glad Press n Seal is a painter’s saving grace.

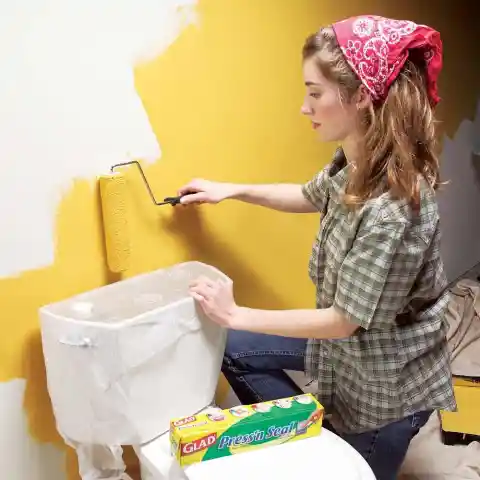
Not only will it stick to just about anything, but it allows you an easy cleanup.
17. Lining a Paint Tray
Press n Seal also works wonders for lining your paint tray, which allows you to reuse it time and time again.
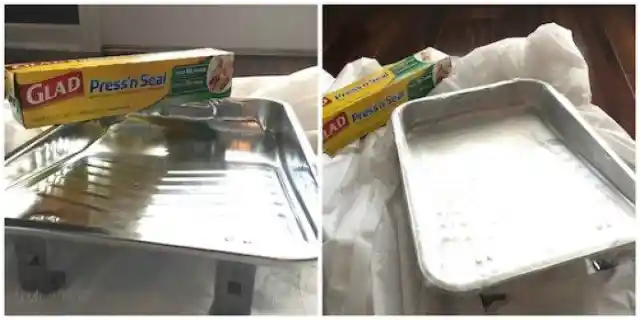

Again, easy cleanup and it saves you money.
16. Foil
If you don’t have any Press n Seal on hand, no worries (it’s a bit expensive anyway).


You can just as easily use aluminum foil and you probably already have some somewhere in your kitchen.
15. Door Knob Covers
If you’re really in a pinch and find yourself running low on painters tape, you can always use that handy foil for jobs like this.

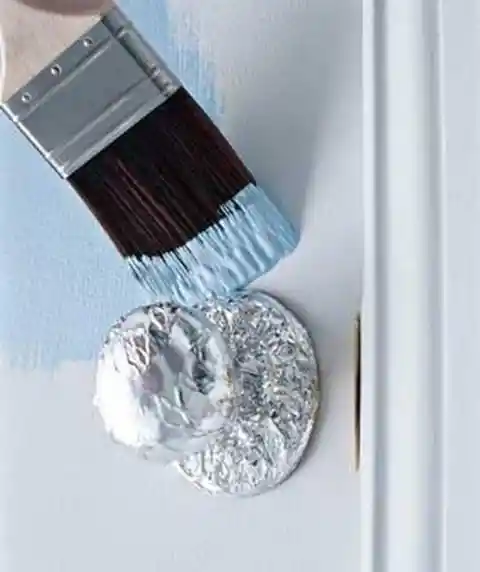
Just make sure to sinch around the edges to ensure a clean edge, every time.
14. Plastic Wrap
If you’re still unsure that you’ll be able to get the lid off of your paint can after resealing it, no worries.

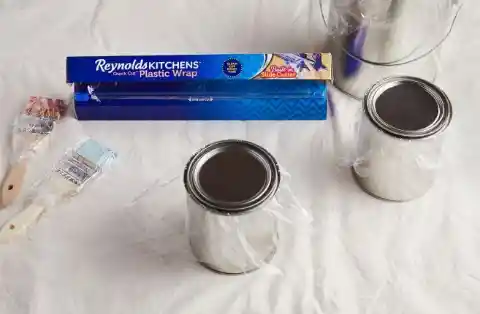
All you need to do is line it with some plastic wrap before and you’ll have no problem, guaranteed.
13. Vaseline
The next time you don’t want to take all the hardware off of whatever you plan to paint, just coat it with vaseline to prevent paint from sticking to it.

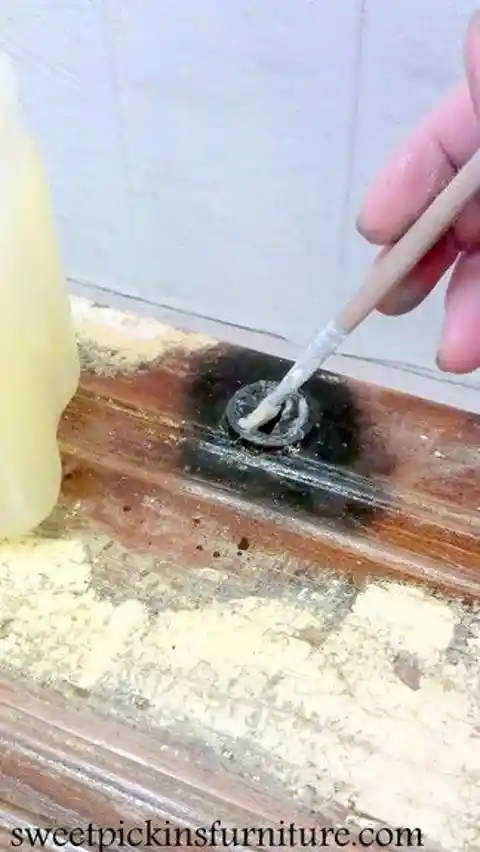
When you’re done painting, simply wipe it off and voila, you’ve got a perfectly done project.
12. Swiffer Your Walls
Dusting your walls is a must when repainting them but it’s also something no one likes to do. Take the hassle out of it by using a Swiffer duster.
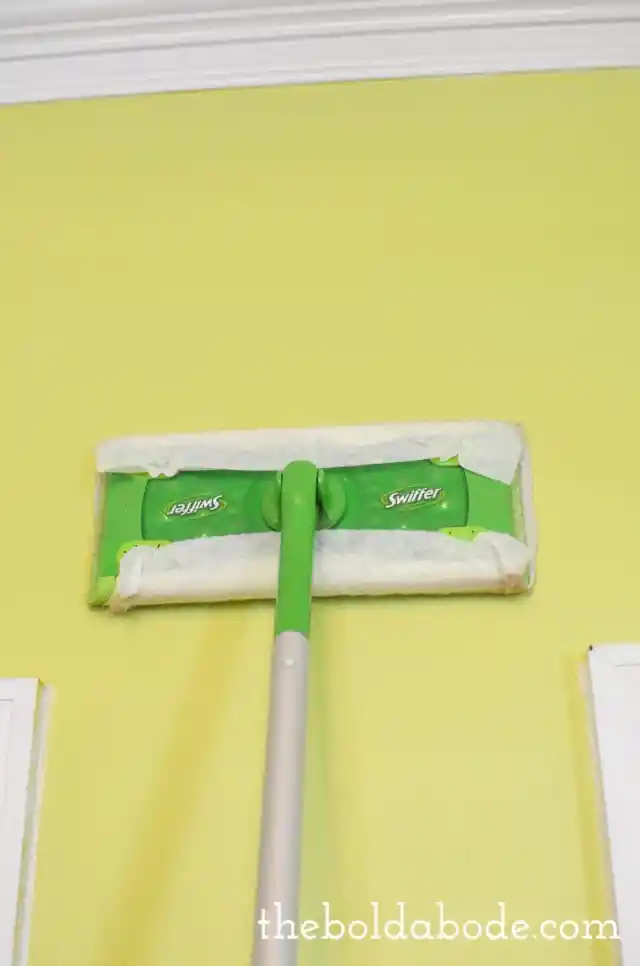
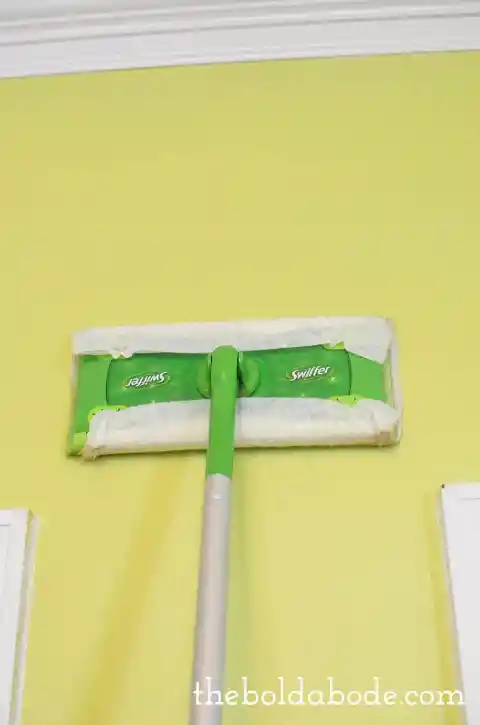
You can easily reach all the way to the ceiling and you don’t even have to climb up on a chair.
11. Milk Carton Brush Holder
Another easy way to prevent a messy situation while painting is by using a milk carton to make a holder/mini paint bucket with a milk carton.
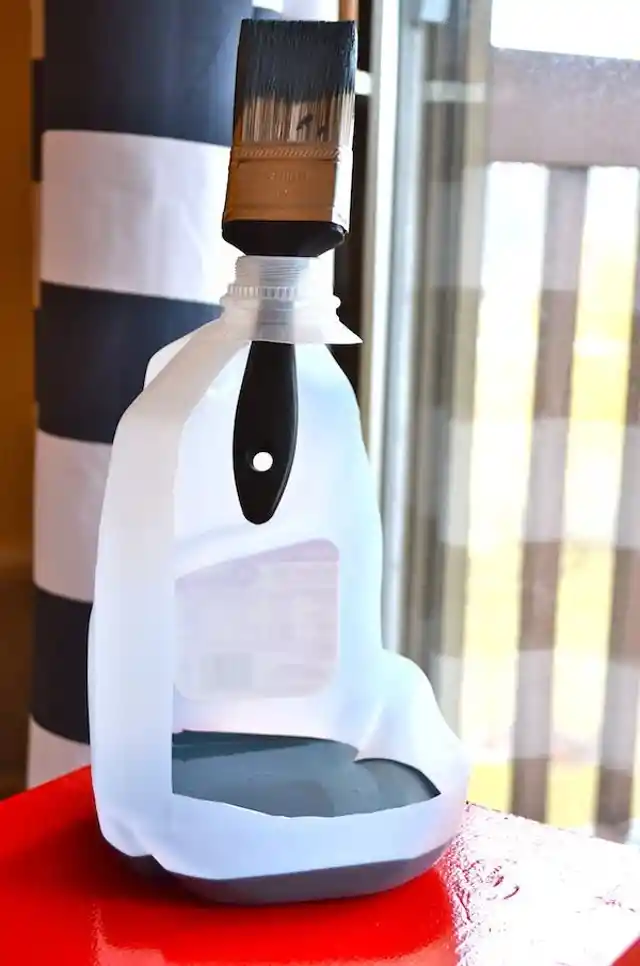

Just take some scissors and cut out one side and use the top to store the paint brush.
10. Pool Noodles
Who would have thought pool noodles would make the perfect painting accessory!
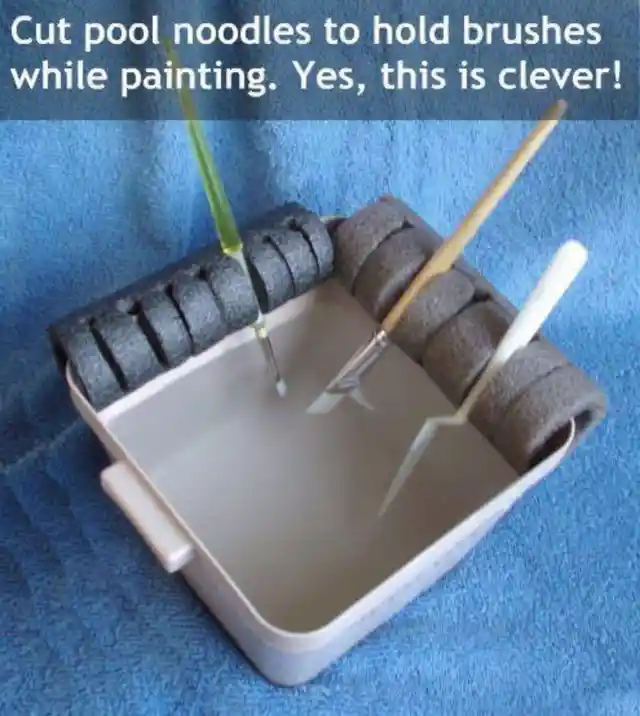
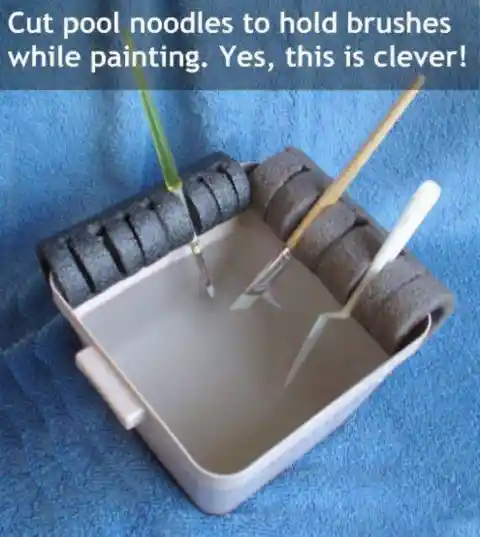
You can cut slits into them to create a multi-paintbrush, paintbrush holder! Creative and easy, this hack will really come in handy.
9. Ice Your Caulking
Adding fresh caulking can really do a new paint job justice as it completes the entire project, making it look professionally done.

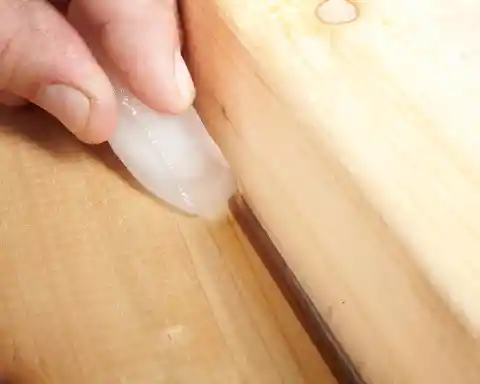
If you want to complete this step like a pro, run an ice cube over it after you’ve completed it, and it will create a smooth line, every time.
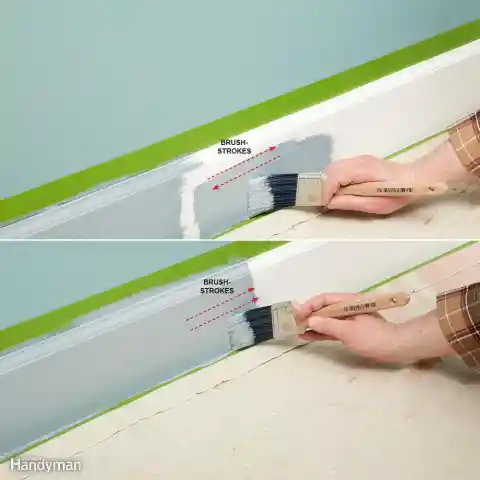
8. Paint Edges Like a Pro
If you really want to paint edges like a pro, then you’ll want to follow this tp. Although it may not seem logical, it works every time. Use a 3″ paintbrush to paint the edges of your walls, don’t worry about getting any on the molding.

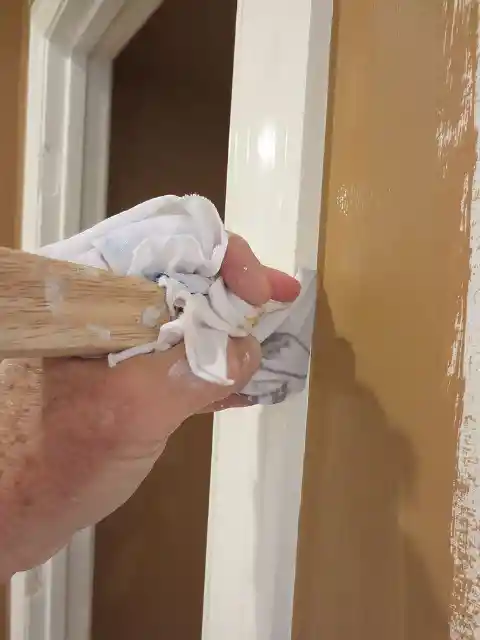
When you’re done, take your 5-in-1 tool, cover it with a wet rag, and run it across the edges. It will take off any excess unwanted paint. The key here is to apply even pressure and not to wait too long or the paint will dry.
7. Push Broom Handle
Instead of spending more money on getting an adjustable paintbrush handle, try using a push broom handle instead.
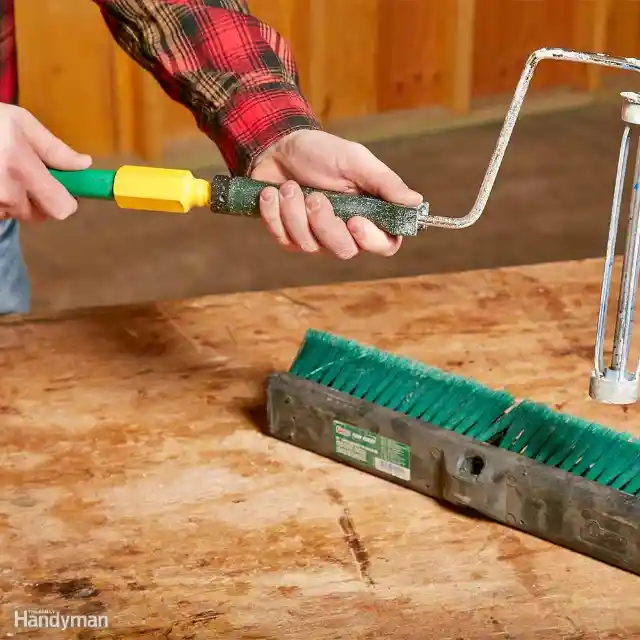

You most likely have one of these in your garage, or at least one of your family members do, and they easily twist off.
6. Lather Up
To get the best and most even coat of paint you can, lather up your paintbrush, slap it on the surface, and then go in with short, quick strokes to even it out.
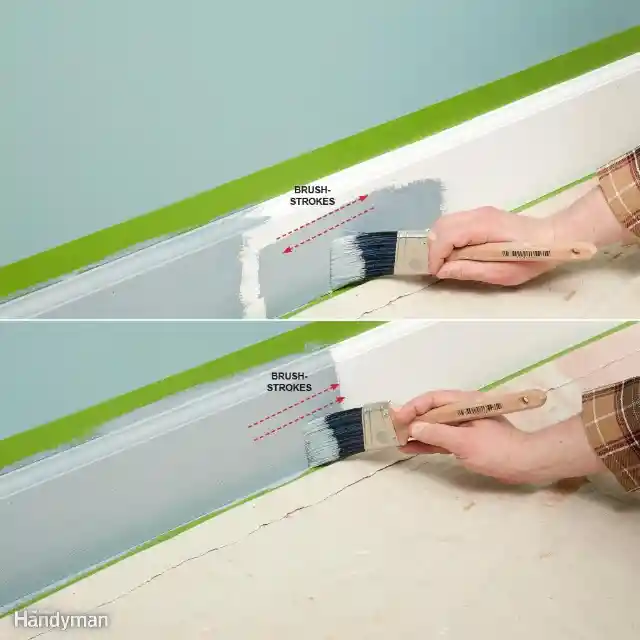
It’s important to start with small sections as it will keep everything more precise.
5. Cardboard Wrappers
To keep your paintbrush bristles from curling or bending in many directions, when you’re done cleaning them, wrap them in the cardboard wrappers they came in.
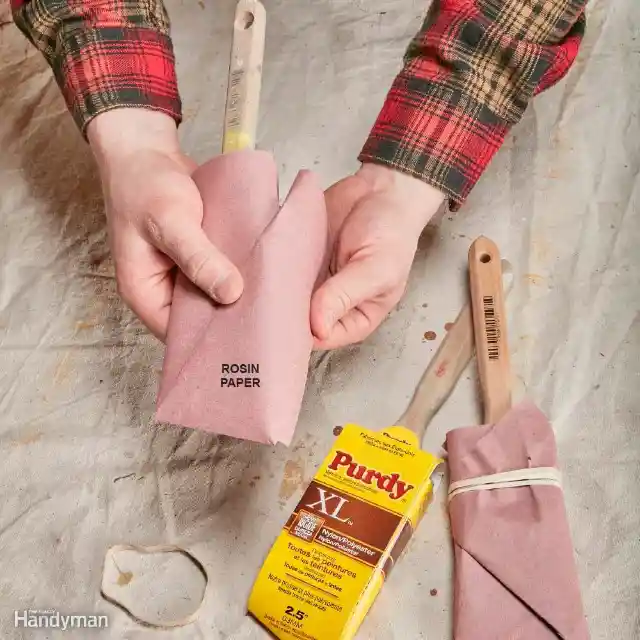

It will keep the bristles protected and will extend the life of your paintbrushes, saving you money and time on your next project.
4. Messy Tray
This hack may surprise you, but if you don’t want to mess with the fuss of lining your tray, no worries! You can actually use a paint tray with layers and layers of paint on it, you just have to make sure it’s completely dry before lathering it up with your fresh paint color.

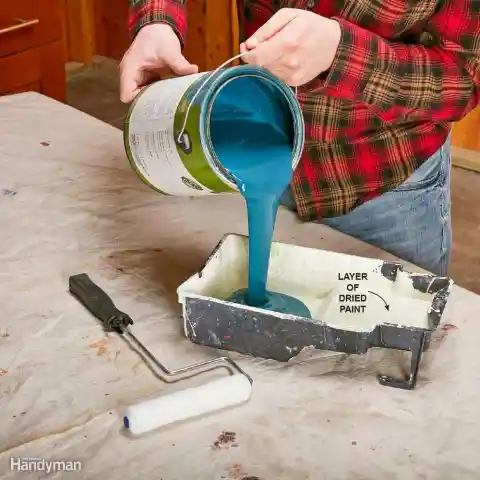
Handyman Mac Wentz says he actually prefers older trays like this because they have more weight to them and won’t slide around as much.
3. Sanding
Although it may be a pain in the butt, prepping your walls is a must when starting a new project. This means you may need to do a little sanding to even out the canvas, but it’s totally worth it.

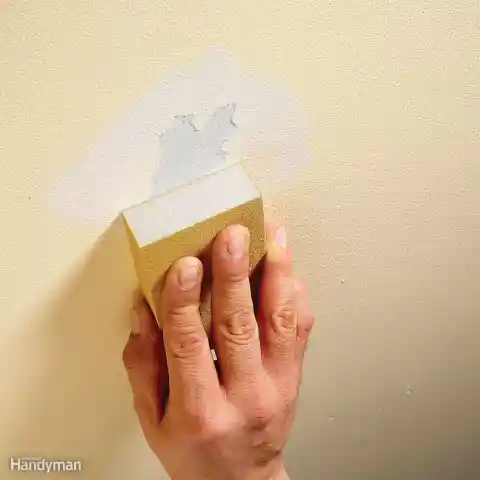
The last thing you want is to spend hours painting only to find that your walls are uneven from a previous paint job.
2. Ceiling, Then Walls
If you’re thinking about sprucing up the ceiling of the room your painting, it’s important that you do it first before the walls.
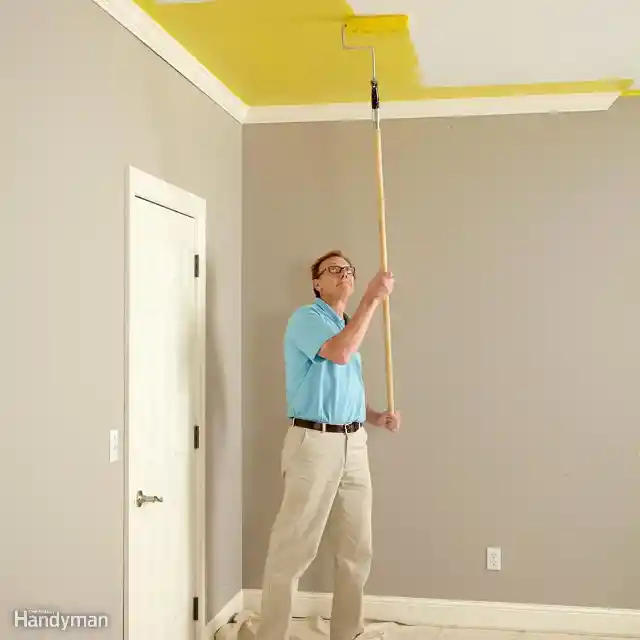
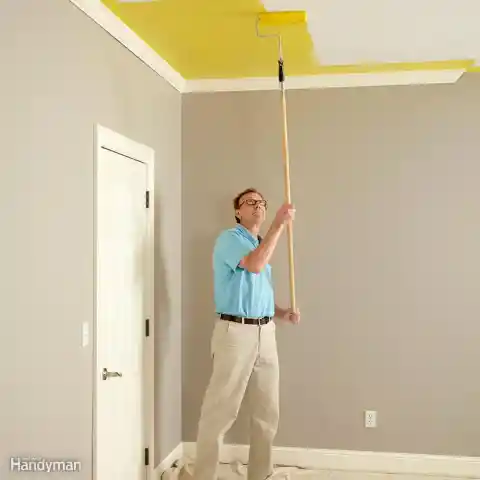
This way you can prevent any paint spatter from hitting your freshly painted walls, ruining your fine job.
1. Egg Cartons
If you find that you want to paint something that won’t support the nail hack, just use some egg cartons instead.

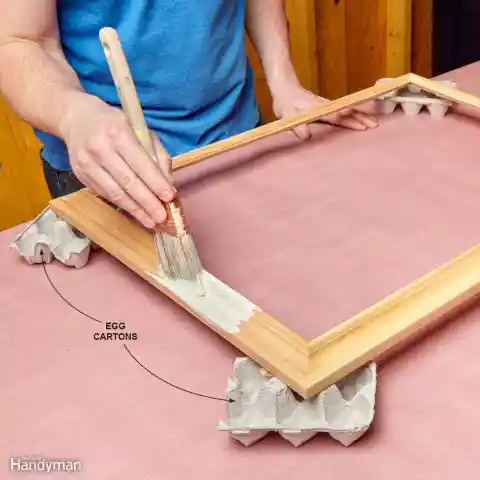
They will elevate whatever it is you want to paint, and won’t damage anything in the process. You can use them multiple times or throw them away after one job–it’s up to you.