We get it, sometimes you may just feel the need for a fresh start, a cleansing if you will. Well, what better cleansing can one get than starting a couple of DIY projects at home? Though they may seem daunting at first, DIY projects offer you an opportunity to be creative, test your own limits, and save money at the same time. The great part is, the more of these you do, the better you get at them and that is how you spin yourself into a new hobby. With that in mind, we understand that you’re still new so here are a few amateur DIY projects you can try at home to see if you have a knack for these things.
Paint The Front Door


Having a well-painted and colored door makes for an excellent greeting when visitors come to visit you. Get rid of that chipped door with fading paint and just fix this problem for yourself. The actual process of going about it is quite simple. Firstly, remove the door from its hinges before painting it. Proceed to sand, wash, and dry the surface of that door as part of the prep work. Afterward, remove the hardware (that includes the doorknob and hinges) and then cover any glass panes so that they are not stained. Alright with this out of the way, the painting begins. Apply primer or a paint-and-primer-in-one. It will probably take two coats, so let it dry between applications. Remember, you are in no rush. Once the final coat is dry, replace the hardware and rehang the door. Then just like that you have a freshly painted door.
Hang Plants From The Ceiling
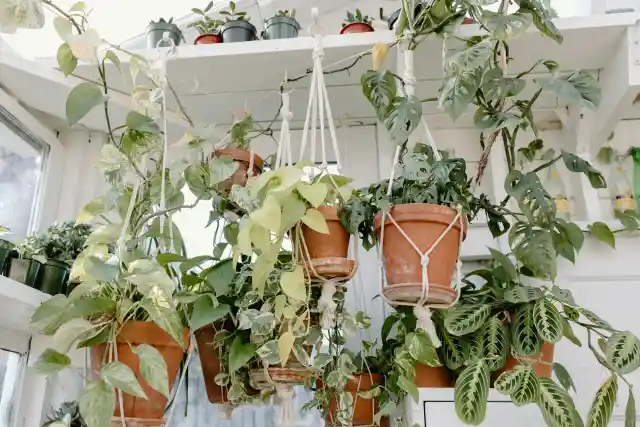
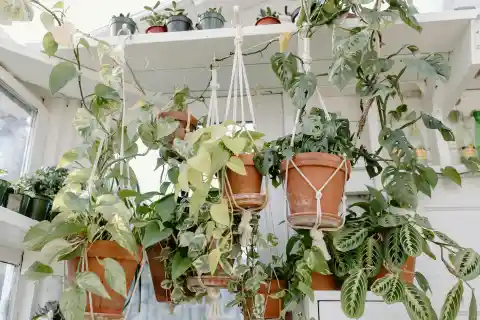
A fun DIY project to have is one that not only beautifies your home but has added health benefits too. What I’m talking about specifically is to have hanging plants in your home, suspended from the ceiling. You’re guaranteed to have not just a beautiful space in your house but purified air too, as a result of these plants. The process is simple. Choose a location that gets the required amount of light for your plants. Locate a stud or beam to attach a swag bolt to, or use a toggle bolt to secure to drywall. An important part to remember when doing this is to make sure the bolt capacity is rated for the hanging wet weight of your plant plus its container. The last thing we want is plants falling down like meteorites after you've watered them. Once the swag bolts are secure, you’re good to go. Proceed to hang your plants freely and enjoy the view.
Build A Shelf
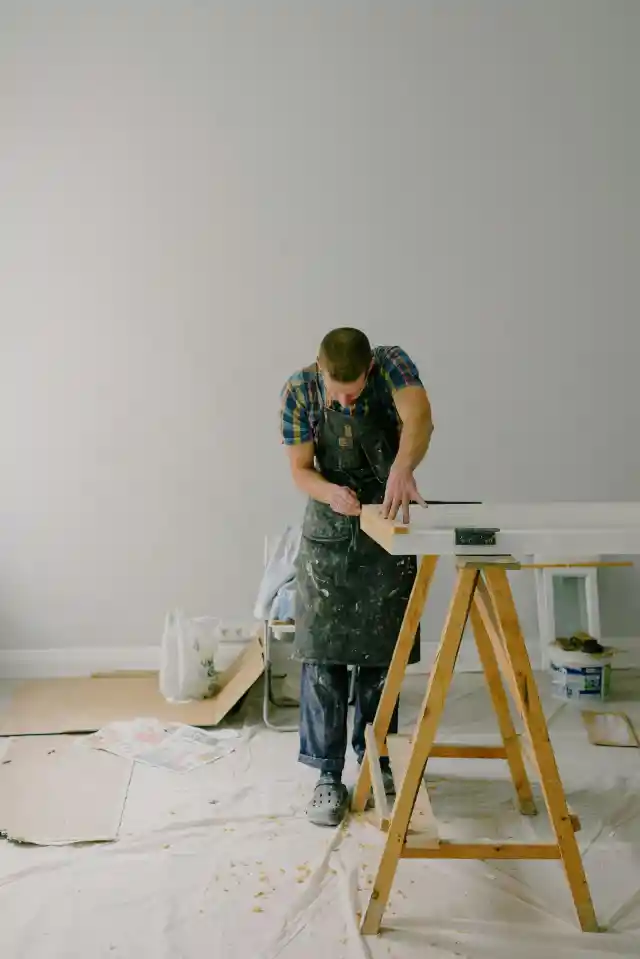

A lot of the best DIY projects involve woodwork and this one's no different. How about we go over the 101’s of you building a shelf? Don’t worry the process is simple and pretty straightforward. By the end of all this, you’ll have not just a functional space but something to be proud of as well. First things first, you’ll have to carefully select the location at which you’d like to build your shelf. Consider the size of the intended shelf when you do this. What normally works best is if you can attach the supports to a wall stud, but drywall anchors may work if there’s not too much weight placed on the shelf. This is where the purpose of the intended shelf comes into play. For longer shelves or heavier loads, you may consider adding brackets for extra support. We don't want it falling apart now, do we?
Moving on, measure the height you want and the distance you need between brackets. Drill pilot holes for the screws before screwing the brackets into place. Some shelves simply rest on the brackets while others are attached by screws. Test the strength before placing any special things on the shelf. After that, you can proceed to use the shelf however you wish. Feel free to brag about your awesome skills to friends when they visit you.
Grow Your Food
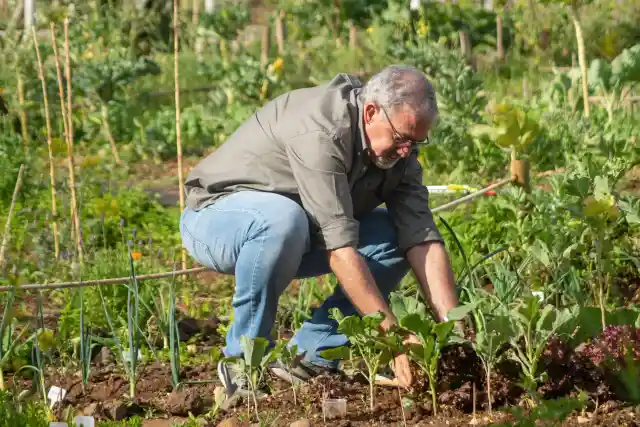

In an age where almost all the food is genetically modified or heavily processed, you could start growing some of the simpler basic vegetables and fruits at home. This will not just result in a fun pastime for you but it will better your health too. Done right, you can be guaranteed to elevate your meals to levels that even storebought food can’t reach. The first step when going about this is to decide how big you want your garden to be, based on what you intend to plant. Choose a spot that gets at least a few hours of sunlight a day, and remove any sod or other plant material. Prepare the soil by tilling or digging thoroughly. Depending on the kind of soil you are working with, consider adding manure or fertilizers to enrich the soil and guarantee a bountiful harvest. What comes next is pretty straightforward. Just simply, plant seeds, seedlings, or a combination thereof, following the planting instructions on the package. Add fertilizers, compost, or water to start your plants off strong.
Depending on what you’re planting you might want to add mulch or any other structures that will protect your plants. For example, climbing poles for tomatoes, cages for certain fruits etcetera. After this, just make sure to monitor and regularly water your garden. Before long, you’ll be drooling every time you take a peep into the garden and see the amazing food blossoming there.
Paint Kitchen Cabinets
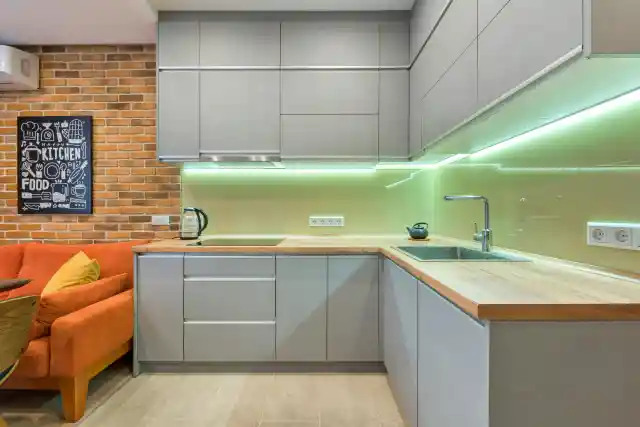
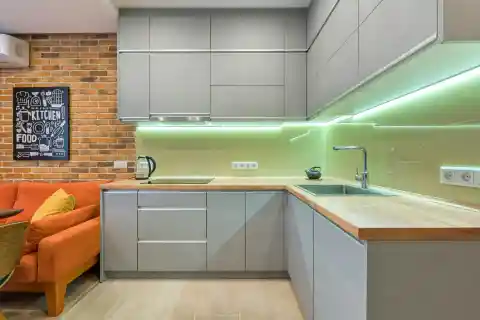
How about you take on the DIY project of making your kitchen a livelier space by repainting the kitchen cabinets into whatever color of your choice? Given that it’s summer, we’d suggest something bright and out there but you are welcome to do some dark colors too. It’s your kitchen after all. Our advice is that for whatever color you pick, select a semi-gloss or gloss paint because it is easier to clean and stands up to wear and tear better than a matte-finish paint. We know that during your cooking experiments, things might get a little messy. As for the procedure itself, start by removing the doors, drawers, and hardware then apply two coats of primer.
Proceed to sand the surface lightly and apply the paint. Pro tip, when you paint always go with the grain, it always works out better when you do it like that. And despite the fact that all the attention is on the front, don’t forget to paint the backs of the cabinet doors too. They need that paint love too. After that, when they’re dry, reinstall them and enjoy your new kitchen look.