Some ancient herder, miles from home, opened a pouch of milk only to find it had split into lumpy white curds and watery liquid. Someone ate those lumps anyway, survived, and accidentally gave humanity one of its greatest foods, cheese. That fluke remains the entire recipe even today. No sterile lab or expensive equipment is needed. Just milk, something acidic, and about twenty minutes of your time. If a person can boil pasta without burning the kitchen down, they can make cheese. And once they do, those plastic-wrapped supermarket blocks start looking a bit unappealing.
The Equipment List Is a Joke


Specialty cheesemaking suppliers would love for home cooks to believe they need a digital probe thermometer, four sizes of cheese molds, and a starter culture kit that costs the same as a 5-star dinner. But they really don't. The entire equipment list for soft fresh cheese fits on a sticky note: one pot, one spoon, one strainer, one bowl, and something to strain through. That last item can be a clean cotton kitchen towel, a flour sack cloth, a piece of muslin, or, in an emergency, a few layers of paper towel.
The ingredient list is even shorter. Milk, obviously. Whole milk delivers the creamiest result, but two percent works in a pinch. An acid from lemon juice, white vinegar, or apple cider vinegar. Each brings its own personality. Lemon juice adds a bright, clean tang. White vinegar stays neutral and lets the pure milk flavor shine through. Citric acid, which costs roughly three dollars at any grocery store, is the best option. It's flavorless, predictable, and powerful. And salt. Nobody should forget the salt because unsalted fresh cheese tastes bland.
The Method That Has Survived Centuries


Here is the process stripped down to its bare essentials. Pour the milk into a heavy-bottomed pot, set it over medium heat, stirring occasionally so nothing scorches on the bottom. You will know the milk is ready when steam starts rising from the surface, and tiny bubbles appear around the edges. If it actually comes to a boil, well its still not a catastrophe just yet. Just turn the heat down and keep going. Pull the pot off the heat. Add the acid one tablespoon at a time, stirring gently. Within seconds, the transformation will begin. The milk separates into fluffy white curds and a watery, yellowish liquid. It looks slightly alarming the first time, but that is exactly how it should look.
Let the pot sit undisturbed for ten minutes while the curds finish forming. If the liquid still appears milky rather than clear, add a little more acid and wait a few more minutes. Now set a strainer lined with a cloth over a large bowl. Pour everything in. The whey will drain through, leaving the curds behind. Gather the corners of the cloth and gently squeeze out more liquid. For soft, spreadable cheese, drain for ten minutes.
For something firm enough to slice, let it hang for an hour or press it under a heavy can of tomatoes. Next, stir in salt while the curds are still warm. That is the entire method, and it has not changed in thousands of years because it did not need to. It's perfect as is.
One Technique, Five Completely Different Cheeses
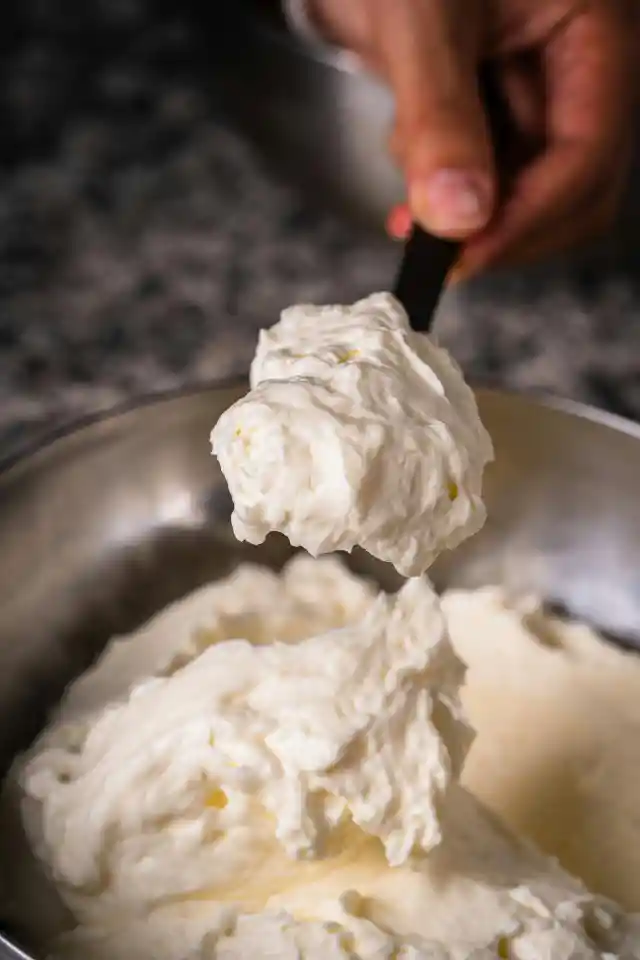
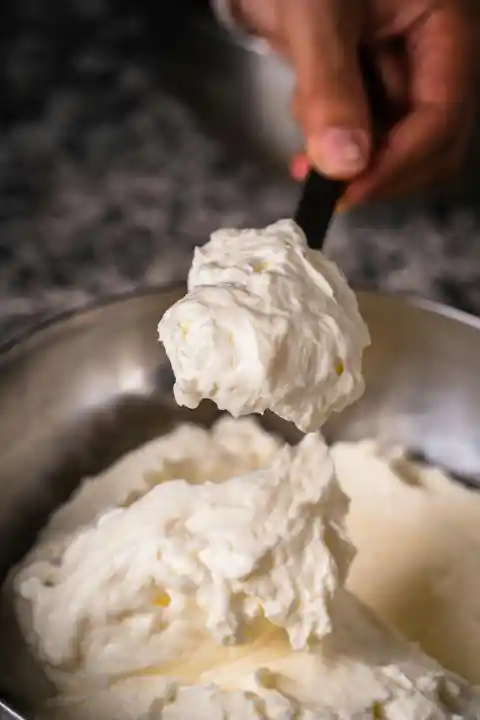
The quiet genius of this single process is that tiny adjustments produce entirely distinct cheeses. Drain the curds briefly and whip them with a splash of cream, and you’ll have a bowl of soft, pillowy ricotta that is ready for toast or pasta. Press those same curds firmly for thirty minutes under a weight, and they become paneer, the Indian cheese that can sear in a screaming-hot pan without melting into a sad puddle.
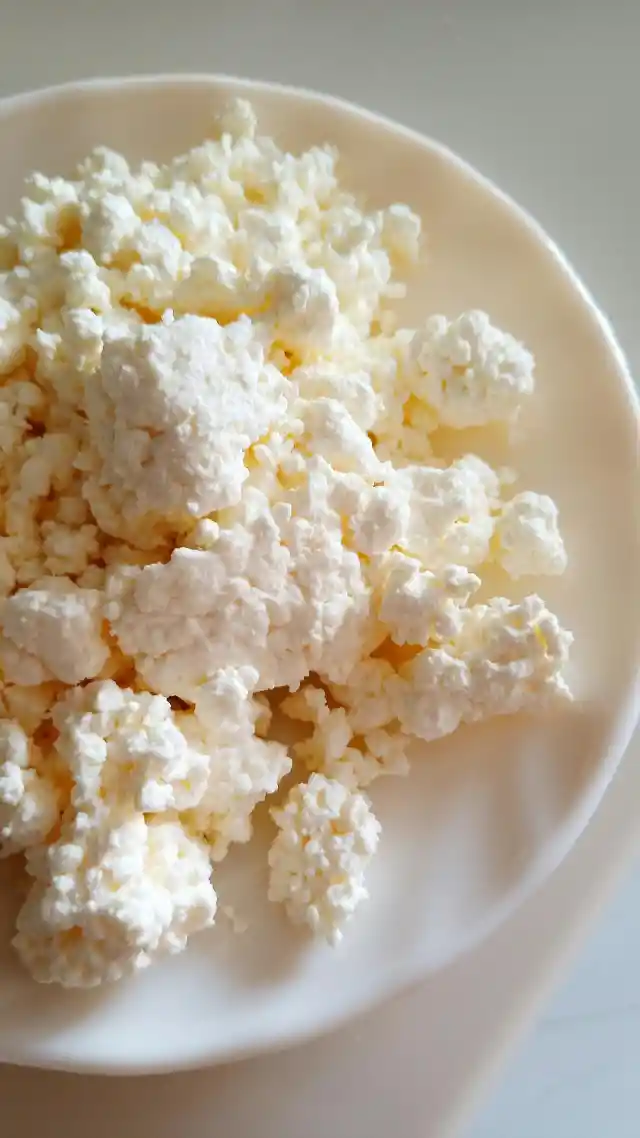
If you crumble the curds loosely, stir in a few tablespoons of milk, and the result is cottage cheese. If you add a cup of yogurt along with the acid and strain everything overnight in the fridge, it transforms into labneh, the Middle Eastern spread that is essentially cream cheese's more sophisticated, better-traveled cousin. Using vinegar instead of lemon, and pressing firmly, what you get is queso fresco, which crumbles over tacos and black beans like it was born for the job.
Ways to Ruin Everything (and How to Avoid Them)

The most common disaster when making cheese at home is milk that flat-out refuses to curdle. This usually traces back to ultra-pasteurized milk sneaking into the pot. Switch to regular pasteurized, and the problem vanishes. Rubbery curds mean the heat climbed too high. The fix is low and slow heat; you need to simmer, not boil. Over-stirring is another trap waiting to spring. Once the acid goes in, give the pot one or two gentle stirs and then step away. Stirring the curds too much shatters them into tiny grains that slip straight through the straining cloth and disappear into the whey. Finally, draining too little leaves the cheese watery and forgettable, whereas draining too much makes it dry and crumbly.
That Cloudy Liquid Is Liquid Gold
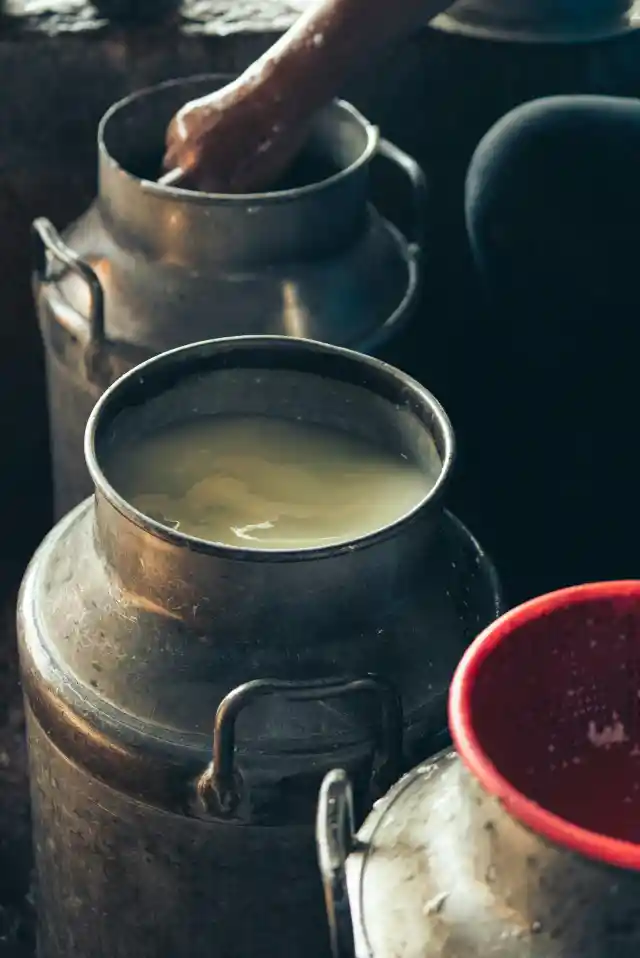
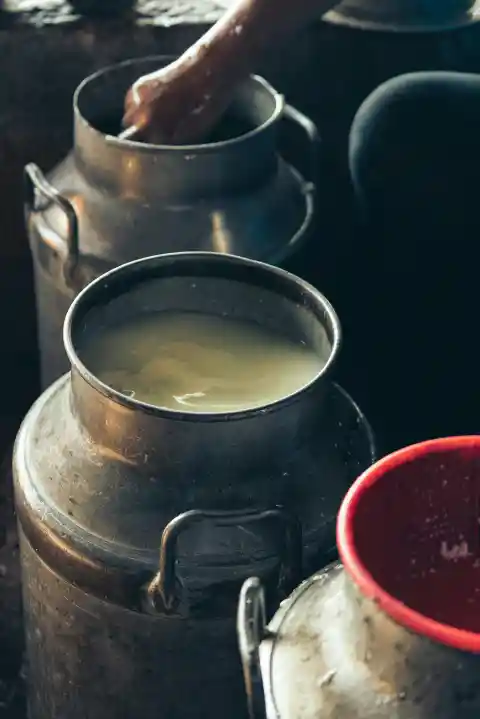
The yellowish liquid left in the bowl after straining is whey, and pouring it down the sink is a massive waste. Whey is loaded with protein, minerals, and a mild tangy flavor. It can replace water or milk in bread dough, producing a softer crumb and a better rise. Gardeners use whey as a soil amendment for plants that love acidity. It also works as a brine for chicken or pork before roasting, tenderizing the meat and adding subtle depth. Whey can be stored in a sealed jar in the fridge for about a week. There is almost always something useful to do with it.