One thing that all amateur and professional furniture restorers have in common is the wish to save an old piece of furniture from the trash and bring it back to its original splendor. Upcycling old pieces of furniture is so much fun! By giving an old, unwanted item a second chance, you're preventing it from ending up in a landfill.
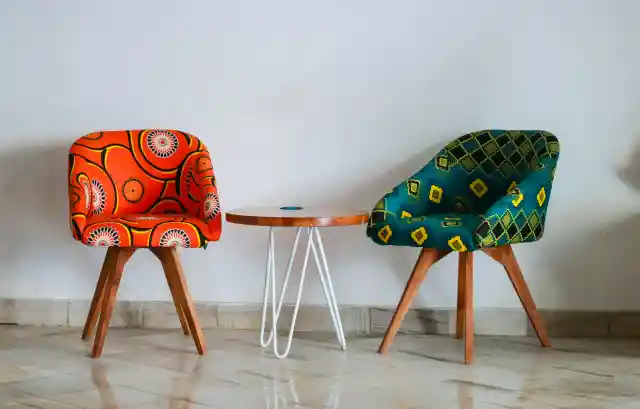
Refinishing furniture entails attending to every detail needed to restore an old chair or dresser to its former state. More than merely a makeover, it usually restores the piece's functionality and, in some cases, increases its worth. Listed below are some suggestions that can assist you in transforming the old into something new.
.
Strip Old Paint
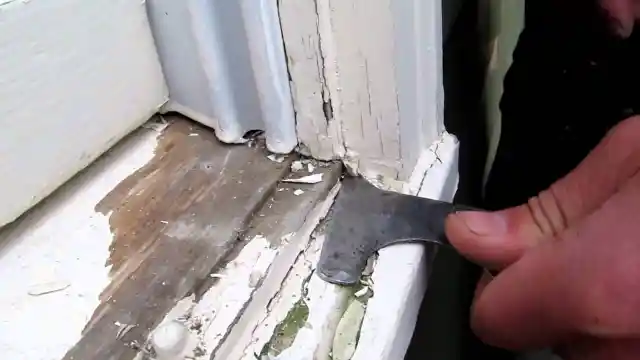

An excellent method to restore furniture to its original beauty is to remove its old paint and finishes. Your toolbox should include a solvent respirator with replacement filters, safety goggles, chemical-resistant gloves, a work apron, brushes, scrapers, steel wool, and chemical strippers. Take the item outside or to a garage with good ventilation, and remove any fasteners. Take all necessary precautions to avoid inhaling the chemical stripper's acidic vapors. Use a rag or an old paintbrush to generously coat the furniture in paint stripper. When applying, be sure to follow the manufacturer's guidelines for safety. Allow it to rest for the allotted duration. As soon as the paint remover has loosened the old coating, use a plastic scraper or putty knife to delicately erase it. Take care not to damage the wood. Use a nylon scrub brush for tough spots. Use some acetone-soaked paper towels or rags to wipe down the furniture and get rid of any leftover residue. Please let the acetone to air dry entirely.
.
Sanding
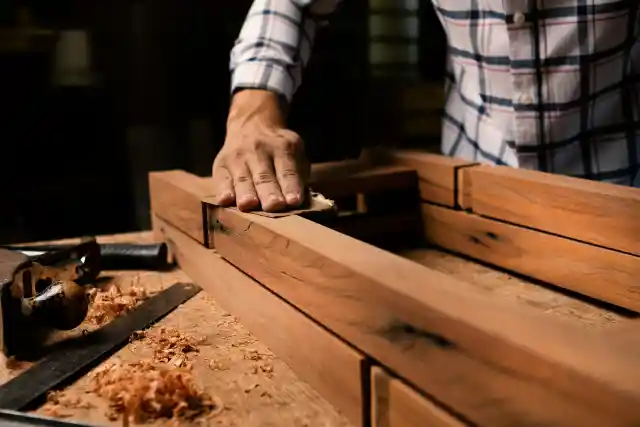
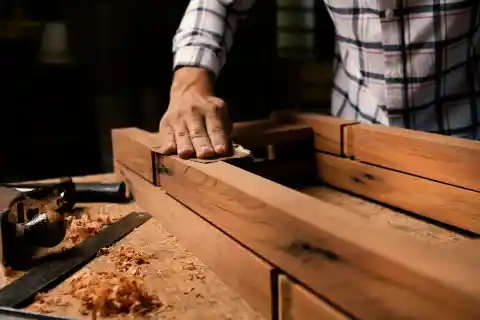
After the surface has been cleaned, the next step is to sand it. Before sanding, remove any hardware (handles, knobs, and hinges) and clean the surface. Clean away stickers, glue, and grime. It is essential to begin with a surface that is clean. Sand the entire surface gently using fine-grit sandpaper (around 120-220 grit) while wearing a dust mask. When it comes to sanding, an orbital sander is your best bet. It's perfect for newcomers because it's adaptable, simple, and easy to control. And for those hard-to-reach places or tight corners that the orbital sander just can't handle, there's the Corner Cat Sander. Based on the task at hand, select the appropriate grit size of sandpaper. Use long, gentle, equal strokes to sand the wood, following its grain. To avoid gouging, do not press too firmly. If the sandpaper becomes clogged or smooth, you should replace it.
.
Replace Missing Wood With Epoxy
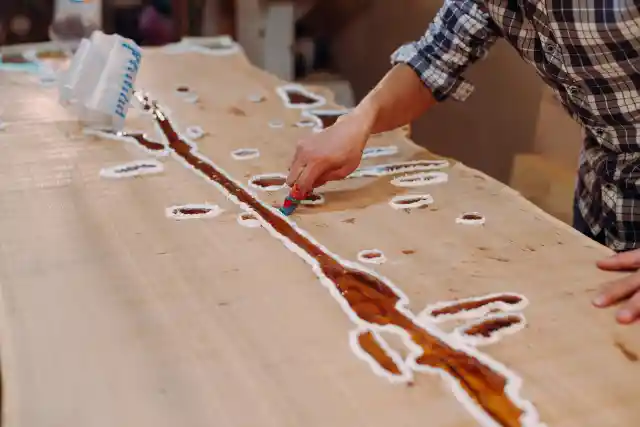
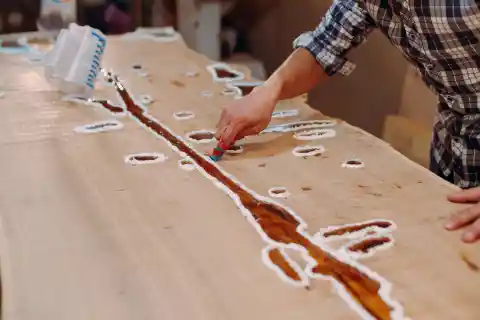
Epoxy putty is a quick and easy solution for fixing veneer loss, chipped wood, and damaged molding. Epoxy, once solidified, has a wood-like firmness and an even color. Stain, shape, and sand it just like wood, and it will blend in perfectly. To apply this epoxy, take a small piece and work it between your gloved hands using a razor blade or utility knife. When the two components have been mixed to a uniform color and the epoxy putty begins to harden, it is ready for use. Use your finger to mold and smooth the epoxy. To prevent the epoxy from adhering, wet it with water beforehand. After that, scrape the surface until it is nearly even with the surrounding veneer using the edge of a straightedge razor.
.
Stain the Wood
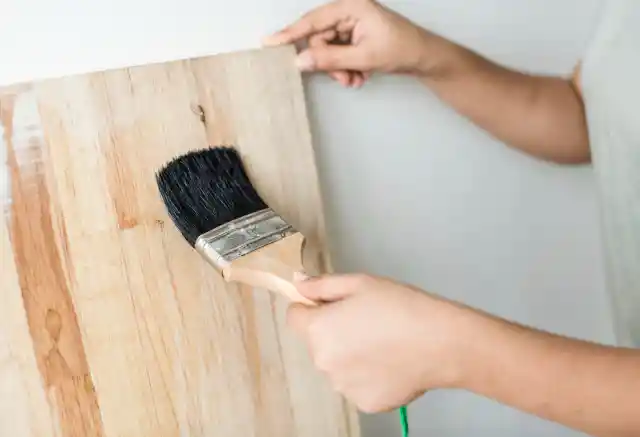
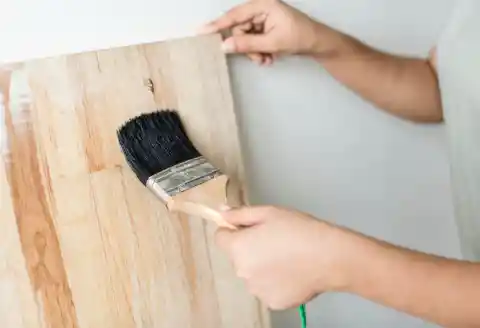
To improve your ability to reach the bottom of the piece, elevate it on scrap pieces of two-by-four lumber. Wipe down the furniture with a damp towel. To ensure that the pigments in wood stain from a can are mixed uniformly, give it a vigorous stir. This ensures that the color remains consistent all through the job. Spread the wood stain evenly with a brush. Follow the grain of the wood as you work. It is imperative that you thoroughly coat all surfaces. To remove any excess discoloration, use a dry rag after applying it. By doing so, you can avoid uneven coverage and avoid blotches. You should wait at least one day after staining the wood to apply a topcoat. The stain can soak into the wood more deeply after this waiting time.
.
Waxing
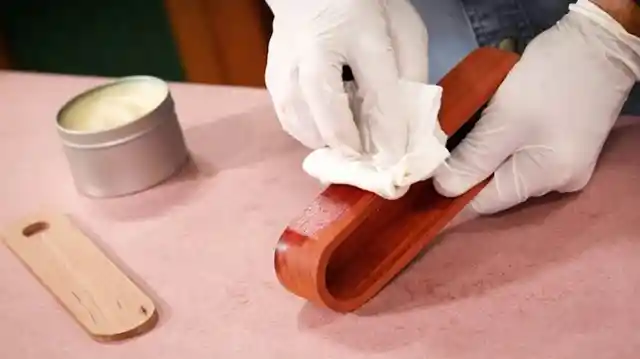
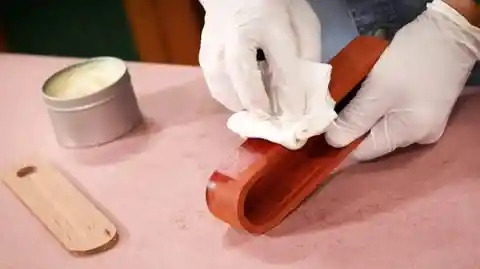
Wax is waterproof and preserves the wood surface from external contaminants. It shields your wood from everyday wear and tear and accidental spills, extending its life expectancy. In addition to preventing dust from settling in, it makes cleaning a breeze. Before waxing the furniture, make sure the space is clean and has good ventilation. It is ideal to have a clean working environment. Take a moist, gentle cloth and wipe down the furniture to eliminate any dust or filth. This step is critical to attaining a smooth finish. Wax options include beeswax, carnauba, and liquid wax. Soak a clean cloth or wax brush in the wax. Apply a thin coating of wax to the furniture and rub it in circular motions, being sure to follow the grain of the wood. Follow the manufacturer's guidelines for how long to let the furniture dry.
.
Apply Primer
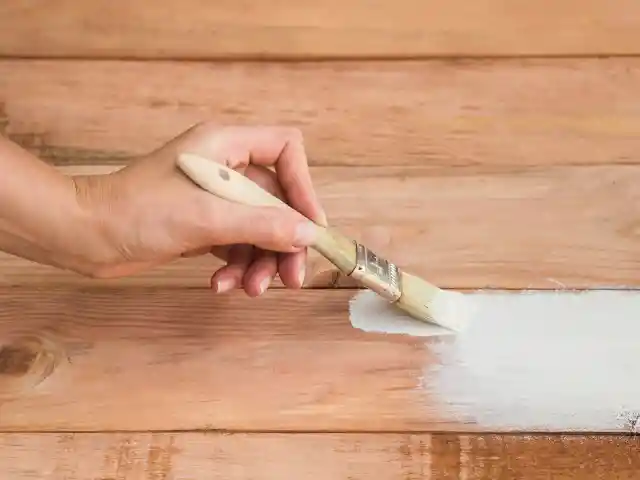
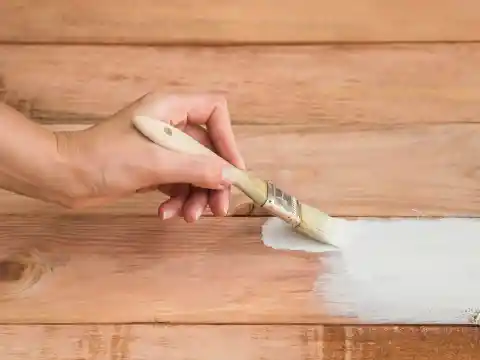
For neat and equal coverage, use a spray primer. When applying paint of different colors, use a white primer beneath lighter colors and a darker primer beneath darker colors to ensure even application. You should start at the base of the furniture. To prevent drips and overspray, spray steadily in a regular manner. Move back and forth in a manner that mimics the furniture's curves. Give the primer a couple of thin applications and wait for it to dry completely in between. Primer drying durations might vary greatly, so it's best to check the label for details.
.
Paint the Furniture
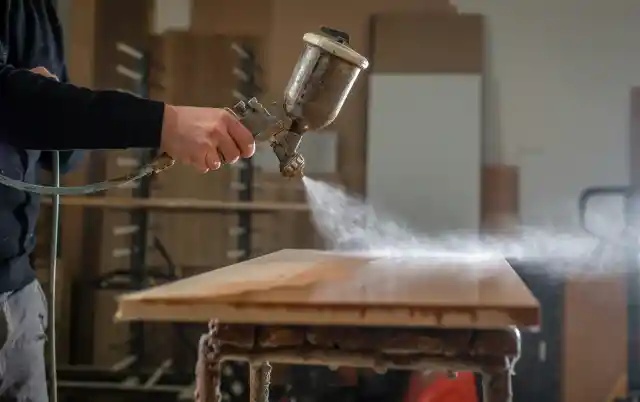

When applying the paint, make sure to use strokes that are nice and smooth and follow the natural lines of the artwork. To get the most out of your brush, invest in a good nylon bristle brush. If you want a smooth finish, brush over the last stroke. Lightly dragging the brush over the area will halt the run and smooth it up before you go on if you get a leak. Use delicate strokes, and let each coat dry completely before applying the next. Paints have different drying durations; therefore, it's best to check the can's label.
.
Apply Clear Coat
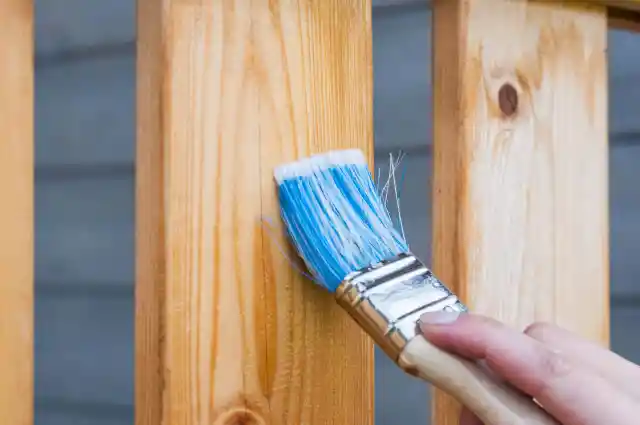
For extra protection and shine, try applying a polyurethane clear coat. If your paint is oil-based, match the top coat with oil paint. If it's water-based, match the top coat with water paint. Use a back-and-forth motion while holding the can 10 to 12 inches away to spray. To apply the coating uniformly, trace the contours of the chair. For a professional finish, lightly sand with 200-grit or higher sandpaper after the first clear coat dries. Then, spray on the final layer.
.
Reupholster the Furniture
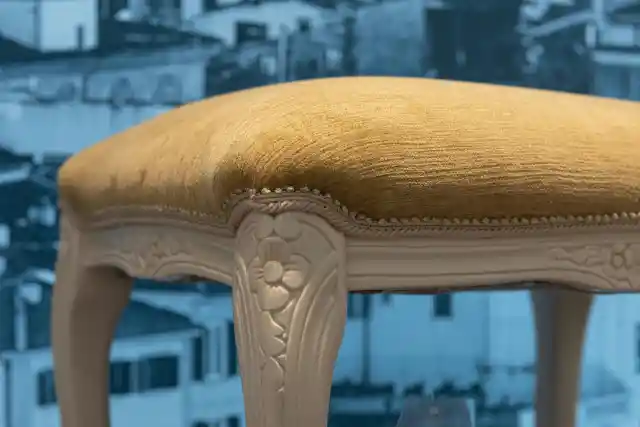
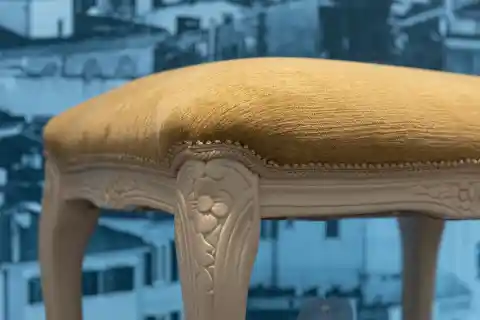
With reupholstering, you may transform your old furniture into something completely new, reflecting your own style or the trends of the moment. Upholstery restoration typically entails removing the old material and installing brand-new upholstery, along with updated cushioning and support systems. Make sure the furniture frame is solid before you go in. The best cushions have hardwood or kiln-dried wood construction, intact corner braces, and eight-way hand-tied springs for maximum support and comfort. Choose your upholstery fabric with care. Durability, weight, and rub count are all important considerations. Choose a durable fabric for the living room set and a lighter one for the decorative pieces. Get rid of the old clothes. Incorporate new batting and padding. Using staples, secure the new fabric in place.
.
Add Functional Hardware
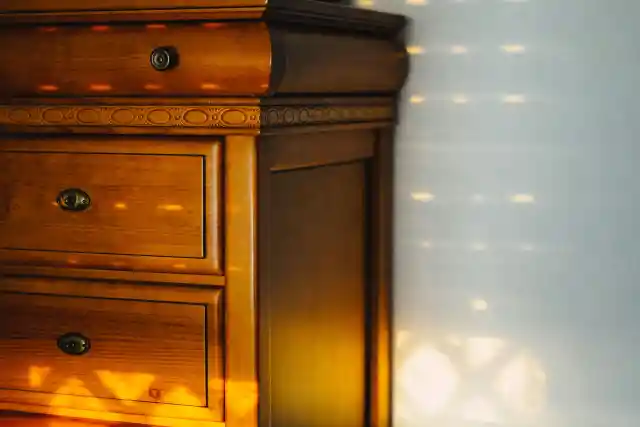

Changing the hardware on furniture may really transform its look. The knobs and handles can transform the look from rustic to chic, contemporary to retro, etc. It is important to be precise while marking and drilling screw holes. If the holes are even slightly misaligned, you'll have to spend a lot of extra effort and time wallowing them out to get the spacing between the screws just right. The next step is to use a high-quality wood filler to cover up the old screw holes. Make sure that the hole is filled with wood filler to the point where it is overflowing, so that the wood filler is piled on top of the screw hole. Once the filler is dry, sand it flush to the surface.